Aluminum Product Acceptance Standard
1. Purpose
This standard regulates product shipment inspection to ensure that the product meets quality and customer requirements.
Quality standards: A grade, AQL:MAJJ(0.4); MIN (1.0) Normal grade III, size N=3, C=0, Electrical performance according to 0 receiving goods, 1 returns standard
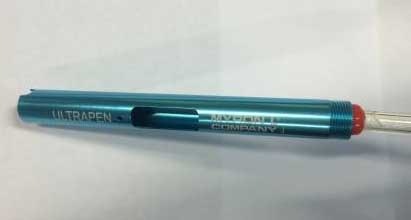
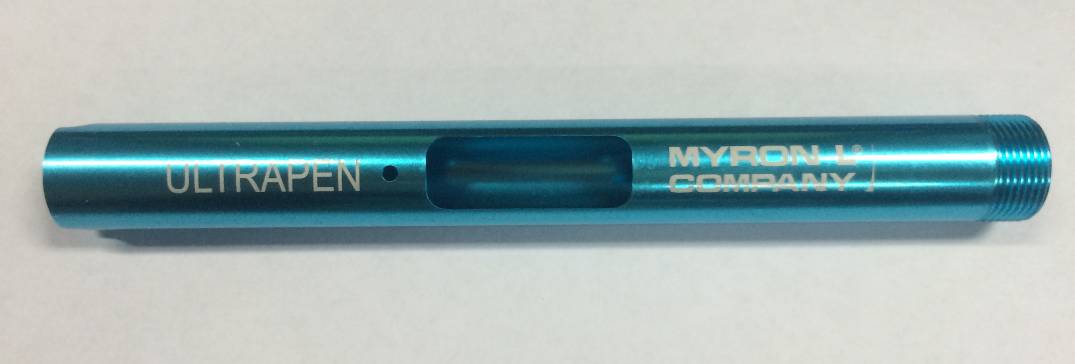
2. Scope of Application Aluminum Tube (11705WT)
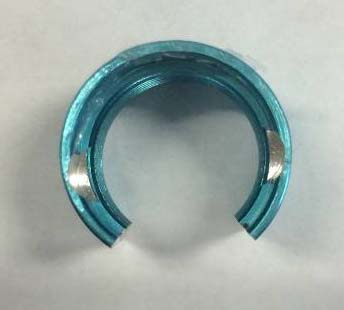
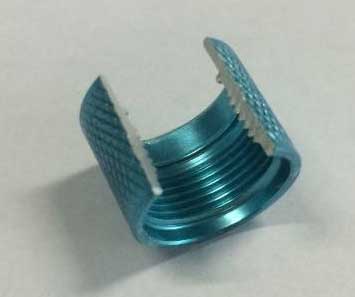
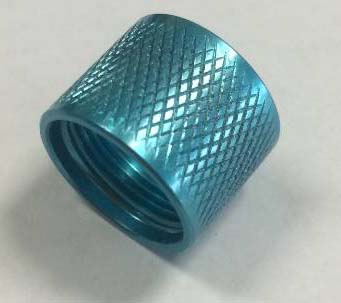
Aluminum Cap (11702WT)
3.Product testing requirements
2, Aluminum tube groove permeability test; The groove is not qualified for leak
3, Size measurement: Measure the dimensions according to the dimensions indicated on the drawing; the dimensions meet the tolerance range as qualified
4, Acid and alkali solution soaking, isopropanol soaking experiment, crack test experiment
5, Appearance determination
6, package
4.Go/No go gage test guidelines
5. Groove permeability test
6.Size measurement
7.pH test
8.Isopropyl alcohol test
9.Crack test
10.Aluminum tube, aluminum cap appearance inspection
11..package
This standard regulates product shipment inspection to ensure that the product meets quality and customer requirements.
Quality standards: A grade, AQL:MAJJ(0.4); MIN (1.0) Normal grade III, size N=3, C=0, Electrical performance according to 0 receiving goods, 1 returns standard
2. Scope of Application Aluminum Tube (11705WT)

Aluminum Cap (11702WT)

3.Product testing requirements
2, Aluminum tube groove permeability test; The groove is not qualified for leak
3, Size measurement: Measure the dimensions according to the dimensions indicated on the drawing; the dimensions meet the tolerance range as qualified
4, Acid and alkali solution soaking, isopropanol soaking experiment, crack test experiment
5, Appearance determination
6, package
4.Go/No go gage test guidelines
| Test items | Inspection content | Picture |
Remarks
|
||||||
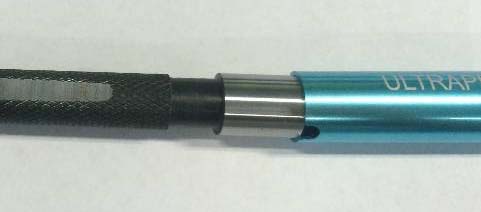
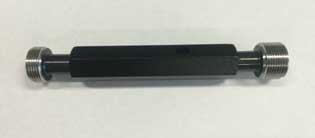
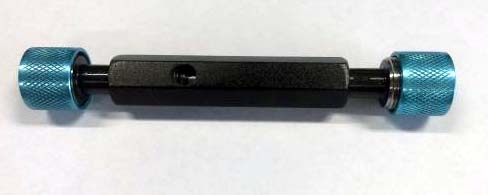
| 4.1 Aluminum Cap | 4.1.1 Aluminum Cap Threads Go/No go gage inspections shall be performed with a pass gauge (plug gauge) M16X1.0-6H. Tong GUI Tong, Stop regulation is a qualified product. |
|
MAJ |
||||||
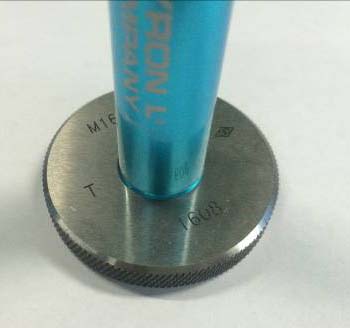
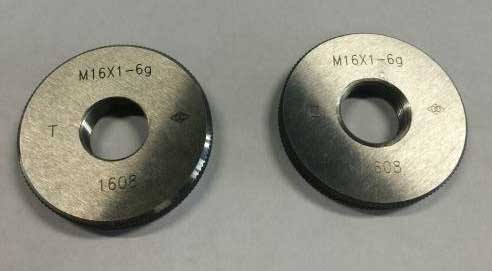
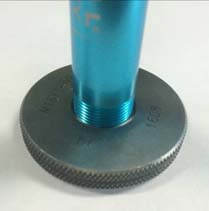
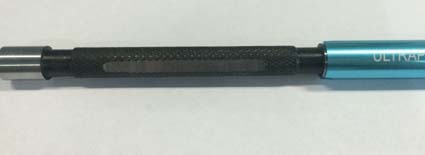
| 4.2 Aluminum Tube | 4.2.1 Aluminum pipe thread Go/No go gage check with Go/No go gage M16X1.0-6g (ring gauge), General regulation, Stop regulation is a qualified product. |
|
MAJ | ||||||
| 4.2.2 Aluminum tube Go/No go gage inspection, General regulation, Stop regulation is a qualified product. |
|
MAJ | |||||||
| 4.2.3 Aluminum tube Go/No go gage inspection, General regulation, Stop regulation is a qualified product. | MAJ |
5. Groove permeability test
| 5.1 Aluminum tube groove permeability test |
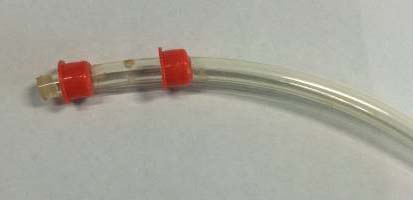
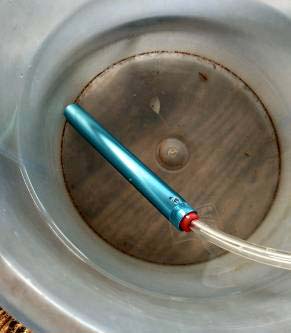
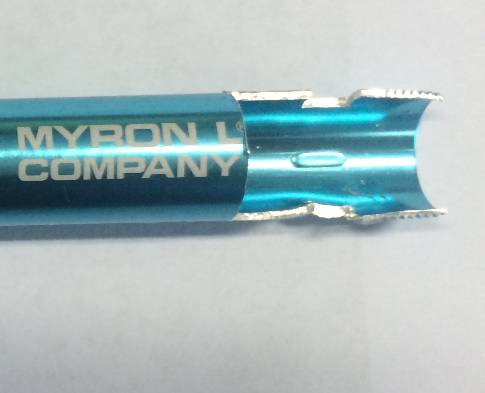
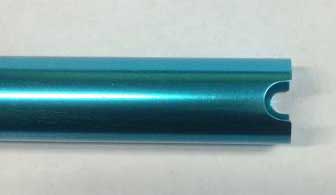
5.1.1 Aluminum tube groove permeability test, Airtight is qualified. Insert the tool for testing breathability into the aluminum tube and place the tube in water. And inflated inside the trachea, The groove is airtight and is a qualified product. |
|
MAJ |
6.Size measurement
| 6.1 Aluminum cap size measurement |
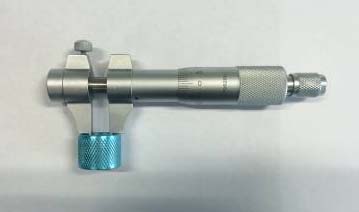
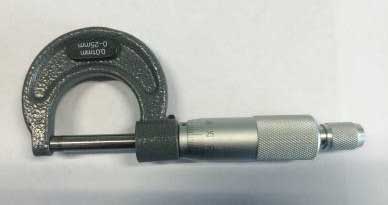
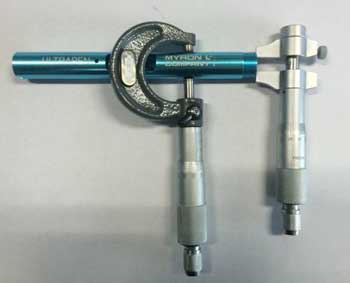
6.1.1 Aluminum caps for regular dimension measurements: Measure and record the dimension number 1, 6, 8, 9, 11 and 12 in the drawing. Tools: inner micrometer, outer micrometer, vernier caliper |
|
MAJ | ||
|
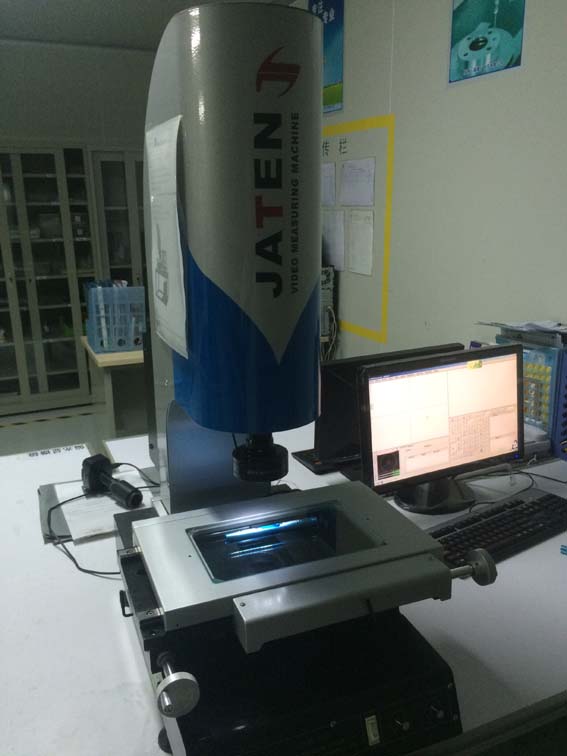
6.1.2 Aluminum cap cutting measurement: The dimension number 2, 3, 4, 5, 7, and 10 in the drawing needs to be cut and measured. Sectioning: Metalworking shop milling machine Tools: micrometer, vernier calipers |
|
MAJ |
|||
| 6.2 Aluminum tube size measurement |
6.2.1 General measurement of aluminum tube size: Measure and record the dimension number 1,2,3,7,8,9,10,11,13,14,22,23,24,25,26,27,28,29,30 in the drawing Tools: inner micrometer, outer micrometer, vernier caliper |
|
MAJ | ||
|
6.2.2 aluminum tube size measurement: Measure and number the dimension number 5,6,12,15,16 in the drawing Tools: Quadratic dynamometer |
|
MAJ | |||
|
6.2.3 aluminum tube cutting measurement: The dimension number 4,17,18,19,21 in the drawing needs to be measured after cutting. Cutting Tools: Milling Machines Measuring Tools: Vernier Caliper, Quadratic Element |
|
MAJ |
7.pH test
| 7.1pH test |
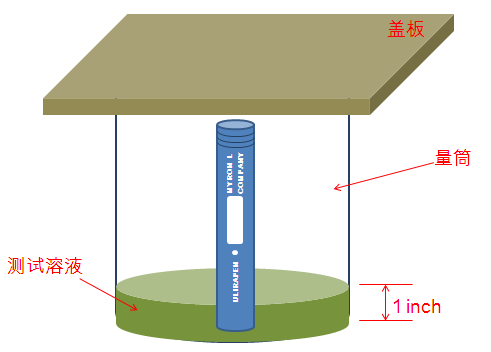
7.1 Check whether the paint and coating of the sample test position are intact before testing 7.2 Soak the sample in 0.5mol/L NaOH solution for 60 minutes 7.3 After the sample is taken out for cleaning, wipe it clean with a clean cloth. Check the sample for coating loss or paint loss (Aluminum pipe inner and outer pipe surfaces need to be checked) 7.4 Soak the sample in the ORP solution for 60 minutes 7.5 After the sample is taken out for cleaning, wipe it clean with a clean cloth. Check whether the sample is peeled off or painted off (inspection on the inner tube surface and outer tube surface of the aluminum tube) 7.6 Soak the sample in deionized water for 4h (deionized water is cooled from 80°C to room temperature) 7.7 After the test sample is taken out for cleaning, wipe it clean with a clean cloth. Check the sample for coating loss or paint loss (Aluminum pipe inner and outer pipe surfaces need to be checked) Remarks: When inspecting the appearance, the sample is peeled off or the paint is rejected as bad, test fail |
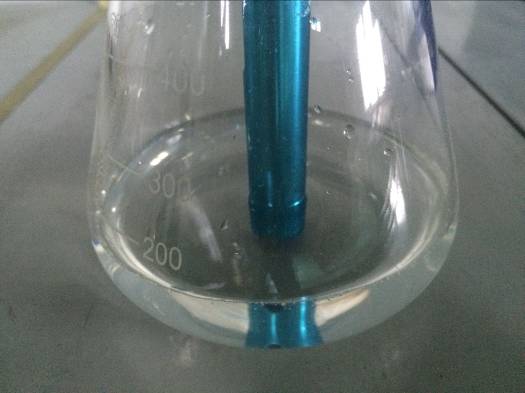 Test Container: Measuring cylinder Solution height: 1 inch Placement method: test tube slot section, down
|
MAJ |
| 8.Isopropyl alcohol test |
8.1 Check whether the paint and coating of the sample test position are intact before testing 8.2 Soak the sample in isopropyl alcohol solution for 60 minutes 8.3 Remove the sample after the test, rinse with deionized water, and wipe the surface with a paper towel. Check whether the coating is sticky or peel off. If the coating has the above defects,, Treat as bad sample and test fail |
|
MAJ |
| 9.Crack test |
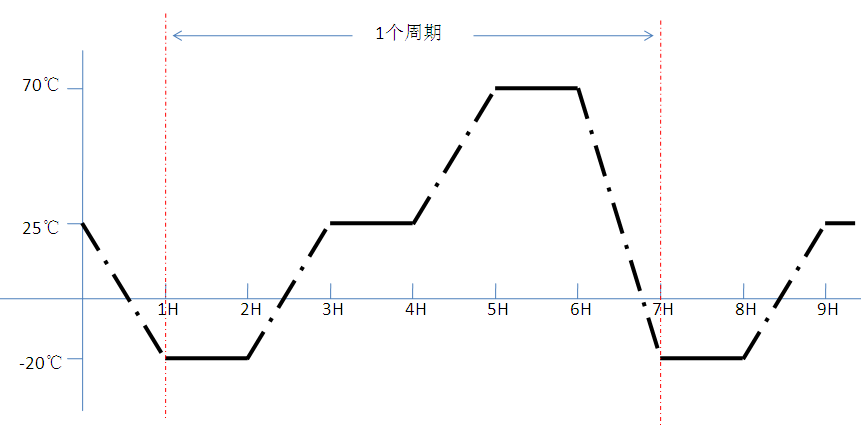
9.1 Check whether the paint and coating of the sample test position are intact before testing 9.2 Place the sample in an environment of -20°C for 2 hours and observe whether the shell has any cracking phenomenon. 9.3 Place the sample in a +70°C environment for 2 hours to observe if the shell has any cracking phenomenon 9.4 Place the sample at -20°C for 1 hour, place it at 25°C for 1 hour after one hour, put it at 70°C for 1 hour after one hour, and stand for 1 hour after taking it out. After four cycles of the above steps, observe whether the sample has cracks Remarks: When the appearance is checked, if the sample cracks, it is regarded as bad. Test fail |
|
MAJ |
10.Aluminum tube, aluminum cap appearance inspection
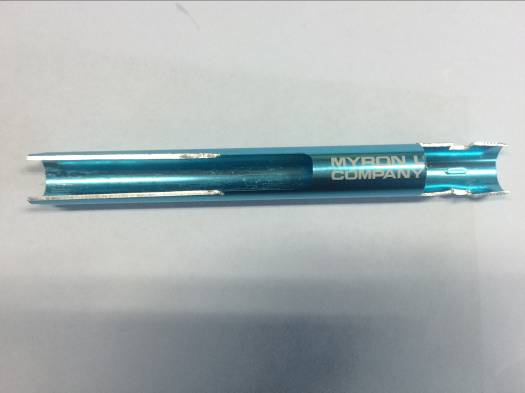
| 10.appearance inspection | For detailed inspection of aluminum tubes and aluminum caps, please refer to the attached document "Aluminum Tube (11705WT) Aluminum Cap (11702WT) Appearance Inspection Document". |
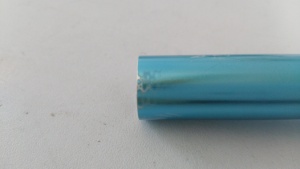
1. From the sensor side (U tank end) measurement within 0-6.35MM, Exposed metal is not allowed on the outside diameter of any aluminum part and inside diameter of the housing.
|
MAJ |
| 11.1 Aluminum cap packaging |
11.1.1 six aluminum caps arranged in a row and tied with a transparent dust bag, Bundle it with tape. Place the plastic tray. 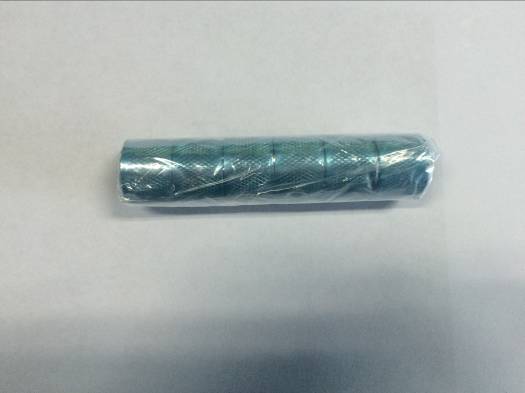 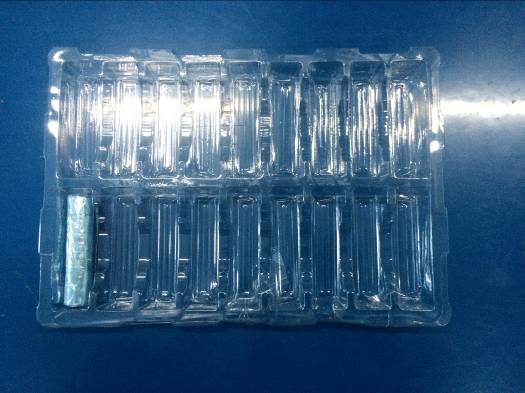 Accumulate six layers of plastic trays, and use anti-side bags to place cartons. |
|
MIN |
| 11.2 Aluminum tube packaging |
11.2.1 Place the aluminum tube in a plastic tray. Accumulation of 8 layers of plastic trays, and use anti-side bag packaging, placed cartons. 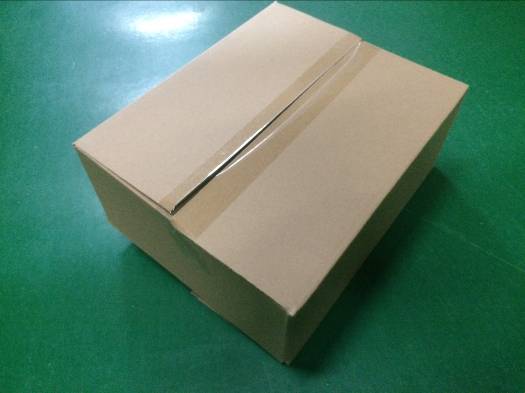 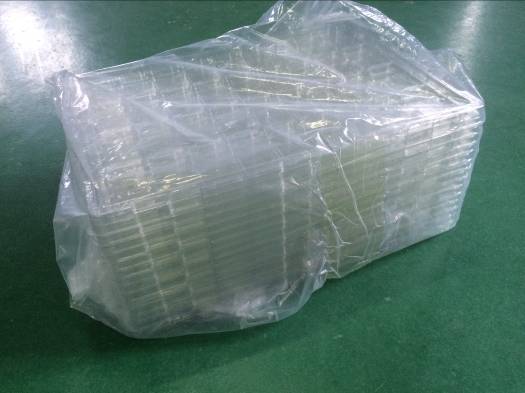 |
|

 .
.