project
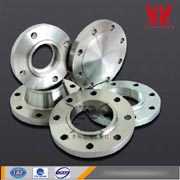
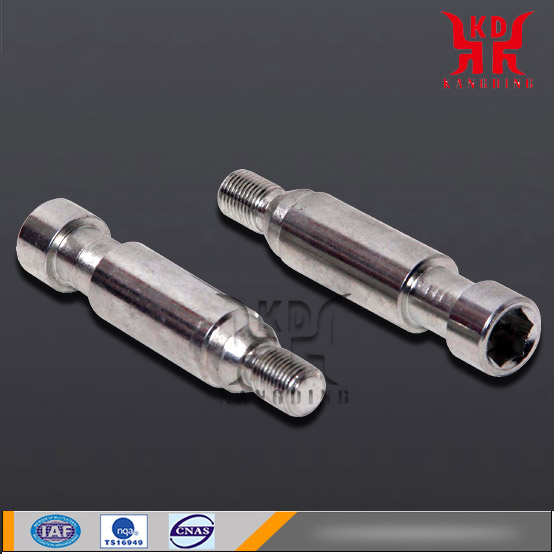
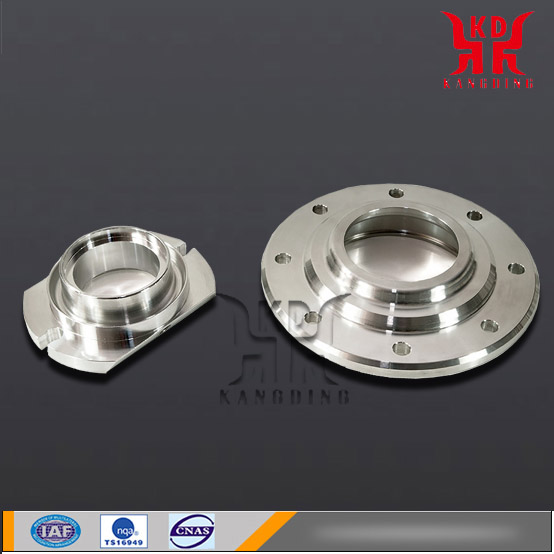
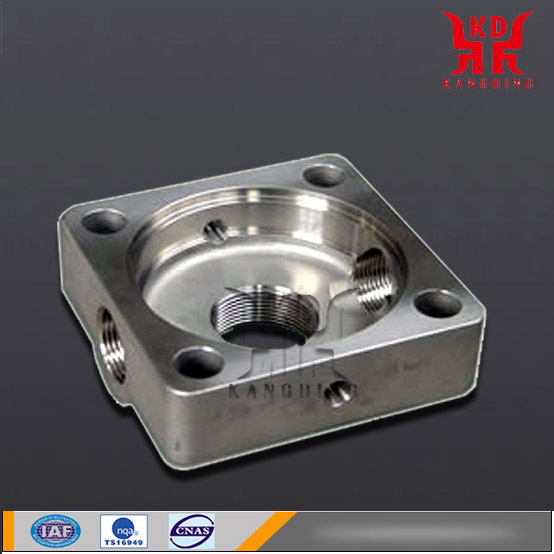
The stainless steel machining process refers to the process of cutting, folding, bending, welding and other mechanical machining of stainless steel materials to finally obtain the stainless steel products required for industrial production. In the process of stainless steel processing requires a large number of machine tools, lathes, wire cutting machines, milling machines, punch presses, sheet metal, instruments, surface treatment, stainless steel processing equipment.
Technology
Stainless steel machining process for stainless steel stamping, cutting, turning, milling, grinding, light, shear, folding, bending, welding and other mechanical processing finally get the industrial production of stainless steel parts required in the process of stainless steel processing requires a lot of Machine tools, instruments, stainless steel processing equipment.
Different types of stainless steel due to the different mechanical properties and chemical composition, the difficulty of CNC cutting is not the same. Some stainless steel in the cutting process, it is difficult to achieve a satisfactory surface roughness; In some stainless steels, although the required surface roughness is easily achieved, the cutting tools are particularly susceptible to wear during the cutting process.
Stainless steel is characterized by: stainless steel adhesion and strong melting, chips tend to stick to the teeth of the milling cutter and deteriorate cutting conditions; When milling, the cutter first slide on the hardened surface, increasing the tendency of work hardening; Milling impact and vibration are relatively large, making the cutter teeth easy to chip and wear. Milling stainless steel in addition to the end mill can be used carbide milling cutter material, the other types of milling cutters are high speed steel, in particular, tungsten - molybdenum and high vanadium high speed steel has a good effect, the tool durability comparable to W18Cr4V Increase 1 to 2 times.
Precautions
(1) Main components of stainless steel: generally contain high-quality metallic elements such as chromium (Cr), nickel (Ni), molybdenum (Mo), and titanium (Ti).
(2) common stainless steel: chromium stainless steel, containing Cr ≥ 12% or more; nickel-chromium stainless steel, containing Cr ≥ 18%, with Ni ≥ 12%.
(3) Classification from stainless steel metallurgical structure: There is austenitic stainless steel, for example: 1Cr18Ni9Ti, 1Cr18Ni11Nb, Cr18Mn8Ni5. Martensitic stainless steel, such as: Cr17, Cr28 and so on. Commonly referred to as non-magnetic stainless steel and magnetic stainless steel.
(4) Weld defects: The weld defects are serious, and manual mechanical grinding methods are used to make up for it. The resulting grinding marks cause uneven surface and affect the appearance.
(5) Surface inconsistency: Only the passivation of the welds is carried out, which also causes surface unevenness and affects the appearance.
(6) Hard to remove scratches: The entire pickling passivation cannot remove various scratches produced during processing, and it is also not possible to remove carbon steel, spatter, etc. adhered to the surface of stainless steel due to scratches or welding spatter. Impurities cause rusting due to chemical or electrochemical corrosion in the presence of corrosive media.
(7) Non-uniform polishing and passivation: After the hand-polishing process, pickling and passivation treatment is performed. For a workpiece with a large area, it is difficult to achieve a uniform and uniform treatment effect, and an ideal uniform surface cannot be obtained. And working hours, accessories costs are also high.
(8) Limited pickling capacity: Pickling passivation paste is not a panacea, It is difficult to remove plasma cutting, flame cutting, and black oxide scales.
(9) scratches caused by human factors more serious: In the process of lifting, transportation and structural processing, scratches caused by human factors such as bumps, dragging, and hammering are serious, making the surface treatment more difficult, and it is also the main cause of corrosion after processing.
(10) Equipment factors: In the process of bending profiles and plates, scratches and creases are also the main cause of corrosion after processing.
Stamping technology
Stainless steel sheet stamping features
(1) The yield point is high, the hardness is high, the cold work hardening effect is significant, and defects such as cracks easily occur.
(2) The thermal conductivity is worse than that of ordinary carbon steel, leading to a large deformation force, large punching force and deep drawing force.
(3) The plastic deformation is severely hardened when deep drawing, and the thin plate is easy to wrinkle or fall out.
(4) The drawing mold is prone to sticking to the deep drawing dies, resulting in serious scratches on the outer diameter of the parts.
(5) When deep drawing, it is difficult to reach the desired shape.
Stamping notes
(1) Due to poor thermal conductivity compared to ordinary low carbon steel, the required deformation force is large;
(2) When the stainless steel sheet is deep-drawing, the plastic deformation hardens hard, and when the sheet metal is deep-drawn, it is easy to wrinkle, which requires a large blank holder force;
(3) The springback caused by bending and reverse bending of the sheet material at the corners of the drawing die will usually cause depressions in the sidewalls of the product. Products that require higher dimensional accuracy and shape require an additional shaping process.
(4) Adhesion of tumors is likely to occur during drawing of stainless steel sheets.
Parts inspection standards
1, stainless steel tube uniform color, no color.
2, stainless steel tube uniform finish, can not appear dull, or vague phenomenon.
3, stainless steel pipe surface without dense trachoma diameter of less than 0.1mm. A 6-meter tube does not allow 2 needle size blisters.
4, The round pipe body is sleek, with no unevenness, and it is not allowed to have obvious curvature and deformation. The straight line is less than 3 mm within 1 meter.
5, the surface of the outer surface of the pipe body welds does not allow significant flat phenomenon, feel good.
6, The round pipe body must not be allowed to have the sand belt printed on it that is obviously polished, or the hemp wheel print or mechanical pattern.
7, The inner wall of the weld of the pipe body is not perfect, and the weld seam cannot have a height of 0.1 mm (except for the φ9.5 pipe)
8, round pipe can not be threaded or scratch phenomenon
| No. | Test items | Technical requirements | Testing method | Test frequency |
| 1 |
ingredient
|
316L, in line with the provisions 14975-2012 GB / T | Refer to GB/T 233 | According to GB/T 2828.1 general inspection level II sampling |
| 2 | Exterior | The inner and outer surfaces are clean and free of oil, cracks, separations and scabs are not allowed. Each tube allows the existence of pits and trachoma with an area of ≤ 0.5cm2 , depth of ≤ 0.3mm, but the total number is not more than 3. | Visual, Shoumo, magnifying glass | |
| 3 | size | Meet the drawing requirements | Caliper |
Turning and milling compound processing
Turn milling composite machining has the following features:
1. Use high-precision internal spindle;
2. Freedom mobile operation panel to improve work efficiency;
3. It can mass produce all kinds of small parts, and the high-speed processing of complex parts, diversified processing;
4. In particular, slim and complex processes can be processed at one time, and the automatic feeding device can be configured to improve efficiency;
5. Material details: cutting, copper, iron, aluminum alloy, stainless steel, Teflon and other materials.
Compared with conventional CNC machining processes, the outstanding advantages of composite machining are mainly manifested in the following aspects:
1. Shorten product manufacturing process chain and increase production efficiency. Turn-milling machining can complete all or most of the machining operations at a time, which greatly shortens the product manufacturing process chain. In this way, on the one hand, the production assist time caused by the change of the installation card is reduced, and at the same time, the production equipment fixture manufacturing cycle and waiting time are also reduced, and the production efficiency can be significantly improved.
2. Reduce the number of clamping and improve the processing accuracy. The reduction in the number of mountings avoids the accumulation of errors due to the positioning reference conversion. At the same time, most of the current milling and milling machines have on-line inspection functions, which can realize in-situ detection and precision control of key data in the manufacturing process, thereby improving the processing accuracy of products.
3. Reduce floor space and reduce production costs. Although the price of a single unit of turning and milling compound processing equipment is relatively high, However, due to the shortening of the manufacturing process chain and the reduction of equipment needed for the product, the number of fixtures, floor space, and equipment maintenance costs are reduced. It can effectively reduce the costs of investment, production operation and management of the total fixed assets.
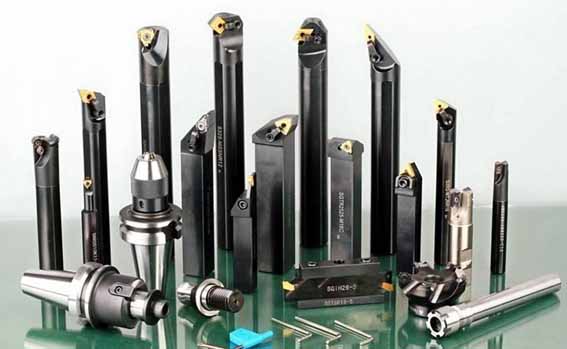
Tools
YG cemented carbide has good toughness and thermal conductivity, and it is not easy to bond with chips. Therefore, it is suitable for stainless steel rough machining. The hardness, wear resistance, heat resistance, oxidation resistance, and toughness of YW cemented carbide Better, suitable for precision machining of stainless steel.
When processing 1Cr18Ni9Ti austenitic stainless steel, It is not suitable to use YT cemented carbide. because the Ti in stainless steel and Ti in YT cemented carbide have a pro-combination effect. Stainless steel shavings easily take away the Ti in the alloy and promote the wear of the tool.
The choice of tool geometry angle has great influence on the yield of stainless steel cutting, the cost of tool resistance, the roughness of the surface to be machined, the cutting force and the work hardening. Selecting and improving the tool geometry angle is an effective way to ensure the quality of processing, efficiency, and cost reduction.
(1)The size of the tool rake angle γ0 determines the sharpness and strength of the cutting edge. Increasing the rake angle can reduce the chip deformation, thereby reducing the cutting force, lowering the cutting temperature, and improving the tool resistance cost. However, increasing the rake angle will reduce the wedge angle, reduce the blade edge strength, cause chipping, and reduce the tool resistance cost. When turning stainless steel, the rake angle should be appropriately increased without reducing the tool strength. When the tool front angle is large, its plastic deformation is small, the cutting force and cutting heat are reduced, the work hardening tendency is reduced, and the tool resistance is improved. Generally, the tool front angle should be 12° to 20°.
(2) Selection of the turning angle α0 of the turning tool During the cutting process, the back angle can reduce the friction between the flank surface and the cutting surface. If the relief angle is too large, the wedge angle will decrease, so that the heat dissipation condition will be worsened, the tool edge strength will decrease, and the tool resistance cost will be reduced. If the rear corner is too small and the friction is severe, it will make the cutting edge blunt, increase the cutting force, increase the cutting temperature, and aggravate the tool wear. Under normal circumstances, the back angle does not change much, but there must be a fair value, in order to help improve the tool's endurance. When turning stainless steel, because the elasticity and plasticity of stainless steel are larger than ordinary carbon steel, the small clearance angle of the tool will increase the contact area between the cutting surface and the back angle of turning tool, and the high temperature area produced by friction will be concentrated in the back angle of turning tool. To accelerate the wear of the turning tool and reduce the finish of the surface being machined. Therefore, the turning angle of the turning tool when turning stainless steel is slightly larger than that when turning ordinary carbon steel. However, if the back angle is too large, the strength of the cutting edge will be reduced, directly affecting the resistance cost of the turning tool. Therefore, in general, the lathe angle should be 6° to 10°.
PREVIOUS:NONE
NEXT:Stainless Steel Turning Parts
NEXT:Stainless Steel Turning Parts

